This guide is written as if the person who will read this does not have much experience with SSH and jailbreaking.
Problem?
One of the easiest ways to capture network traffic coming out of your device to the world wide internet is by setting up a proxy on your desktop and setting your device to use that proxy but that assumes the app will use the proxy. What if it uses its own proxy? What if it uses a socket connection? What if you are forced to connect to another network (say, the GoPro app needs you to connect to the ad hoc wireless network on the GoPro device)?
This approach will allow your device to connect to any network, and captures all types of network traffic including socket and HTTP/S with or without proxy. Drawback is the need for the iOS device to be jailbroken. Jailbreak it. Free yourself.
Step 1 - Jailbreak your device
Update your device via iTunes to iOS 7.1.2 then use the Pangu jailbreak tool. It's pretty straightforward. Pangu has actually done a good job with simplifying the process and guiding the user through it.
Step 2 - Install stuff on your device from Cydia
After the jailbreak, the Cydia app will become available. Launch it and to let it do its file setup magic. Device will reboot and reopen Cydia again and install the following packages:
- OpenSSH
- OpenSSL
- tcpdump
Step 3 - Install and run usbmuxd on your Mac
You will need to have iTunes installed. I'm not very sure but I think the drivers are needed here for the special thing we need to do over USB later.
Since we will be letting the device connect to any wireless network we want, there won't be a guarantee that we can SSH to it via network. What you'll be doing is SSH-ing into your device via USB. How advanced of you.
- Simply download the usbmuxd package from this link. Latest version as of this writing is v1.0.8.
- Decompress the tar file
- cd python-client
- chmod +x tcprelay.py
- ./tcprelay.py -t 22:2222
This is important. What this means is open an SSH port on 2222 on my desktop and relay it into the USB device at port 22. This means that we then need to...
Step 4 - SSH into your device via USB
Simply ssh root@localhost -p 2222 and enter root password. It's like you're SSH-ing over network. Amaze, yes?
Step 5 - Run tcpdump
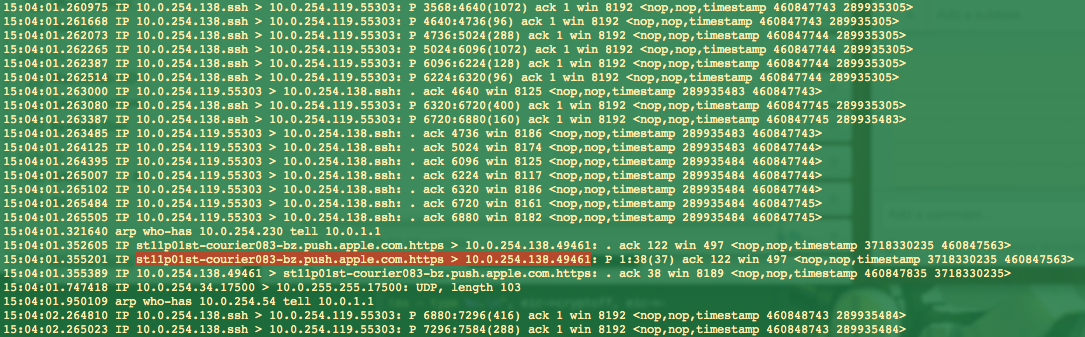
Once you open the SSH session with your device, you can run tcpdump after you installed it in step 2. This will start logging network traffic on the terminal. Even more amaze, no?
And since tcpdump uses libpcap like WireShark or CocoaPacketAnalyzer (my app of choice because it's just much simpler), you can use it to log to a .pcap file that you can open in WireShark/CPA. Just run:
tcpdump -s 65535 -w path/to/output.pcap
Like all other command line tools, use Ctrl+C to stop logging. Search for the man page of tcpdump on the web to learn more about its parameters and how to filter for specific network traffic.
Step 6 - Get the capture file from the device onto your Mac
From your Mac and not inside an SSH session with the device, run:
scp -p 2222 root@localhost:/absolute/path/in/device/to/capture.pcap ./
This uses a secure copy (or cp) via SSH. First parameter is which port to connect to. Next is the source file and destination. We are trying to get capture.pcap from the device into the current working folder. After the transfer, open the pcap file with WireShark/CPA and voila!
Why this is cool
Since all of the above can be done via command line, this whole process can be automated. And since we SSH'd via USB, SSH traffic won't be included in the network trace. Your Mac and your device don't even have to be in the same network! The only drawback I can see here is the need for the device to be connected via USB. Do you know of a better way? Please do share!